
The guide below will walk you through the key Acquaint functionality and terminology.
Once you have started Acquaint and logged in as a valid User you will be presented with the Main Menu.
The screen is split into 3 areas:
The Main Ribbon Menu - a command bar that provides access to all the Acquaint screens and functions.
Groups - the ribbon tab is split into groups which is a labelled set of closely related functions e.g. Actions, Show, Options. Within the group are Icons which are buttons within the group that perform a function.
Application button - a button which may be found in the top left of a screen, the appearance of the button will change dependant on the Acquaint screen displayed. The Application button displays menu of basic functions. For example, you can use the Login option to login into Acquaint as a different user or Change Password from here.

Button - Used to perform a function or process by clicking on it. The button will always have a description of its function e.g. “Save”, “Cancel”, “Run”, “Exit” etc.

Field - an area within a screen where the user needs to input information.

Drop-Down Box - a field with a small “arrow” button that expands when clicked and contains a list of items to choose from.

Check Box - Used to toggle an option on or off.

Radio button - enables to choose from an option.

ID - the unique numeric ID (identifier) allocated to records which can be used to locate/find it.
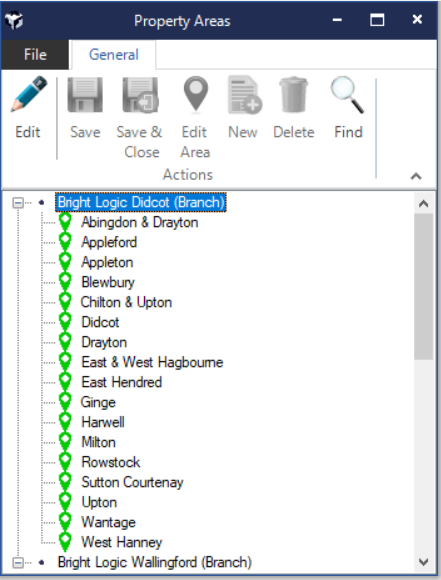
Lookup Table - a screen displaying a predefined list of items. New items can be added to the list, edited or deleted based on the permissions set against the currently logged in User.
Message Box - this appears to display information or to ask questions pertinent to the screen you are working on.
Tabs - used to divide a screen into sections.

All field data entered is automatically formatted (upper/lower case, numeric, dates, currency) and stripped of leading and trailing spaces. Automatic formatting is applied to most fields e.g. Contact Last Name, but excluded from "Notes" style text e.g. description of a property.
Any invalid field data will be highlighted with a red exclamation mark e.g. entering a numeric digit into a Contacts Last Name.

Use the tab and back tab (shift & tab) key to move between fields.
Certain fields require mandatory input i.e. you will not be able to continue unless the field is entered with a valid value. If these are left are empty they will be flagged as invalid.
If you right click on any of the grids a Select Option screen will appear.
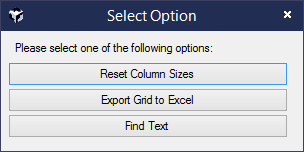
This gives you the option to: